Leading LineBalanceFramingCropRule of ThirdsFor all of the pictures I used a tripod and sat it down in one place without moving the tripod. To create the HDR effect I took five images of the same thing in different exposure values(0,-o.5,-1.0,+0.5,+1.0). HDR stands for high dynamic range the effect of HDR shows the brightness and the drakness of an image.
0 Comments
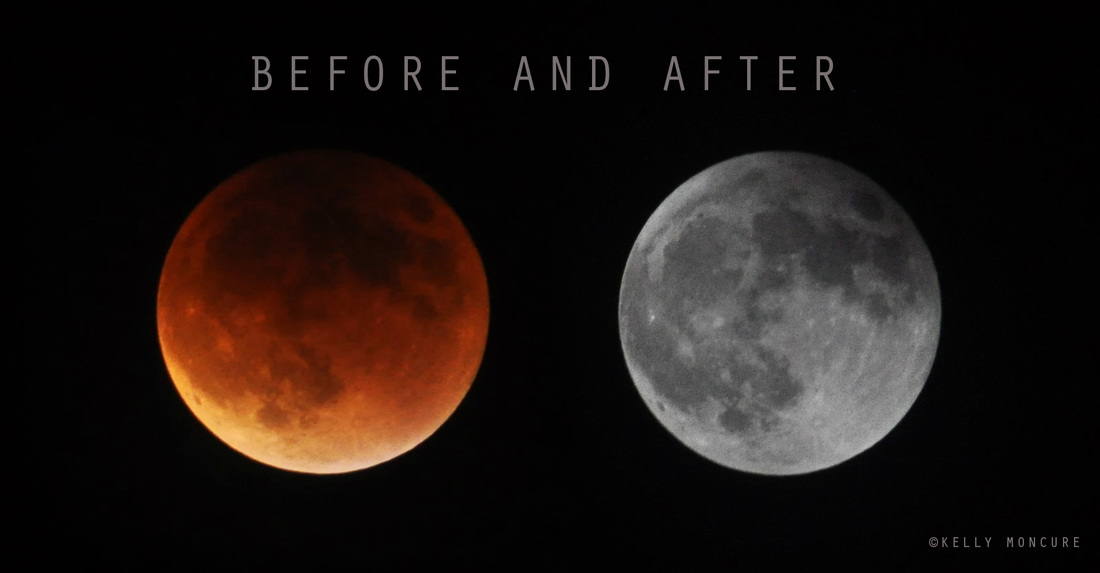 Blood Moon Lunar Eclipse, September 27, 2015. Left image: 70-300mm lens @ 270mm, ISO 1000, aperture f/5.3, shutter speed 1.3 secs. Right image: 70-300mm lens @ 300mm, ISO 800, aperture f/13, shutter speed 1/1250 sec. To photograph the moon: 1. Use a tripod! A flat surface will only allow you to shoot straight, and shooting the moon means that you'll be shooting up and constantly re-adjusting the tripod as the moon moves throughout the night. 2. Use a shutter release cord, remote or the camera's self timer if you don't have one, so that you don't move the camera when pressing the shutter release during a long exposure. 3. Use a zoom lens and zoom in as much as you can to the moon. It's okay if it's not a super fancy lens, this was shot using a 15 year old $100 lens. Focus in on the craters and details on the moon. 4. ISO 1250- 1600, so that you can use as fast a shutter speed as you can without losing detail-the longer the shutter speed, the more chances you have the camera will shake even slightly in the wind, resulting in an out of focus photograph. 5. Aperture priority of f/5.6 since you are not worried about capturing any details other then the moon. 6. Bracket your exposure, meaning over expose and underexpose the photograph from what the camera is telling you. Generally the camera will overexpose the moon, so you'll get nothing but a white blob in the sky. Use the exposure compensation button (the +/- button below the shutter release) and change the exposure to -0.5, then -1.0, then -1.5 and so on, until you start seeing detail in the moon. You may go as far as -5.0 exposure compensation to get what you need. 7. Take a fair amount of photos and keep refocusing as the night progresses. The photographs may look focused on the camera's display, but you won't really see if they're completely in focus until you upload them onto your computer screen.  ISO 400, Aperture f/8, Shutter Speed 1/800  ISO 400, Aperture f/8, Shutter Speed 1/640 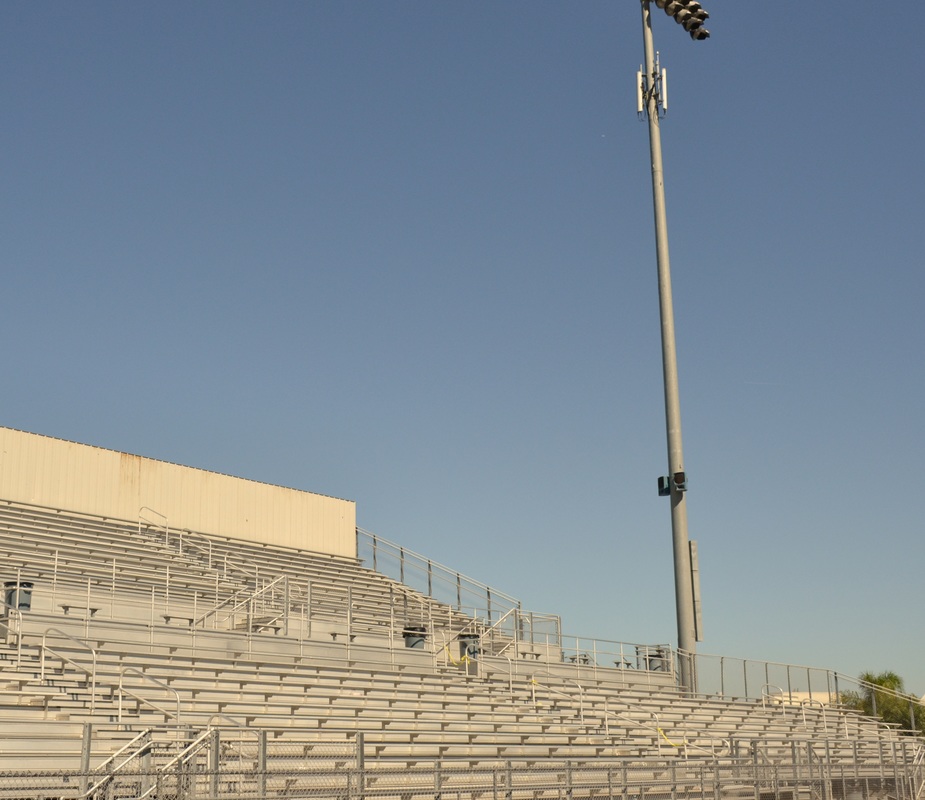 Proportion, ISO 400, Aperture f/8, Shutter Speed 1/1,600 This an image of the bleachers next to the light post and showing the principle of proportion. The principle is shown by the size difference of the light post and the bleachers.It's successful because you can tell the major difference in height of the light post and bleachers. 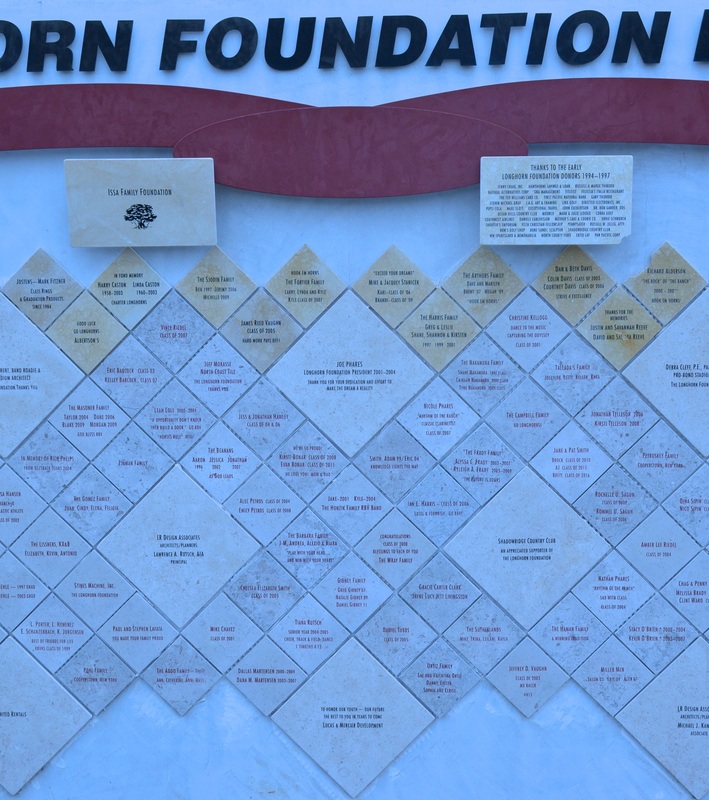 Balance, ISO 400, Aperture f/8, Shutter Speed 1/640 This a picture of the Longhorn Foundation wall near the restroom and concession stand.The principle of balance is shown by the tile color and the way they were laid out.It's successful because the tiles look symmetrical to on another. 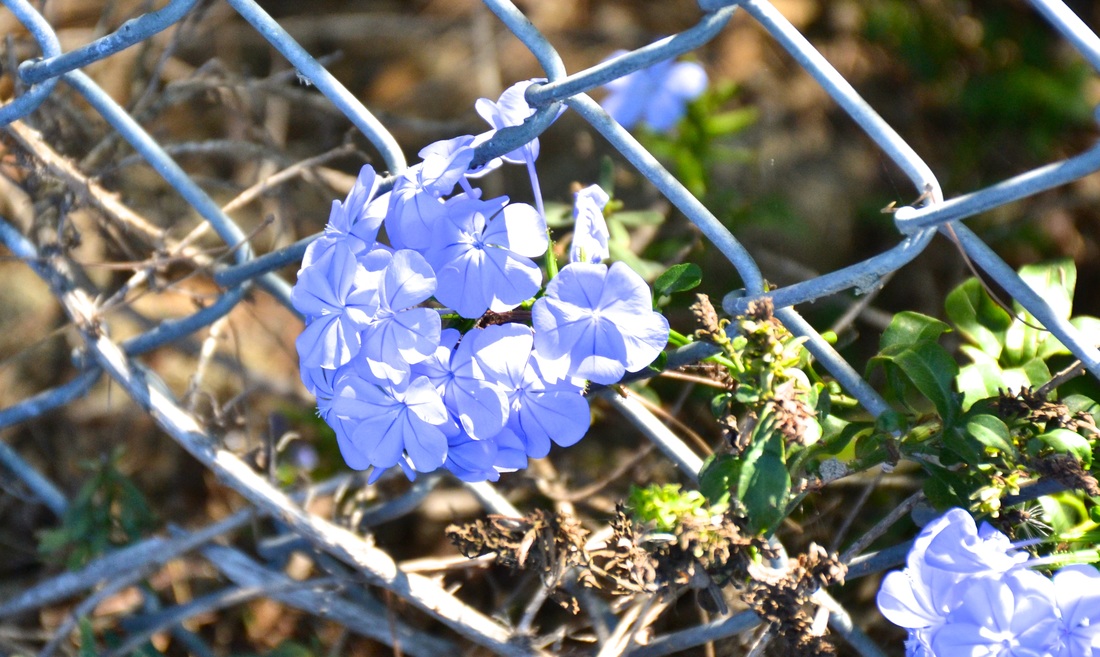 Emphasis, ISO 400, Aperture f/8, Shutter Speed 1/125 This is an image of a purple flower growing in between the fence.This shows the principle emphasis because the color of the flower really stands out. 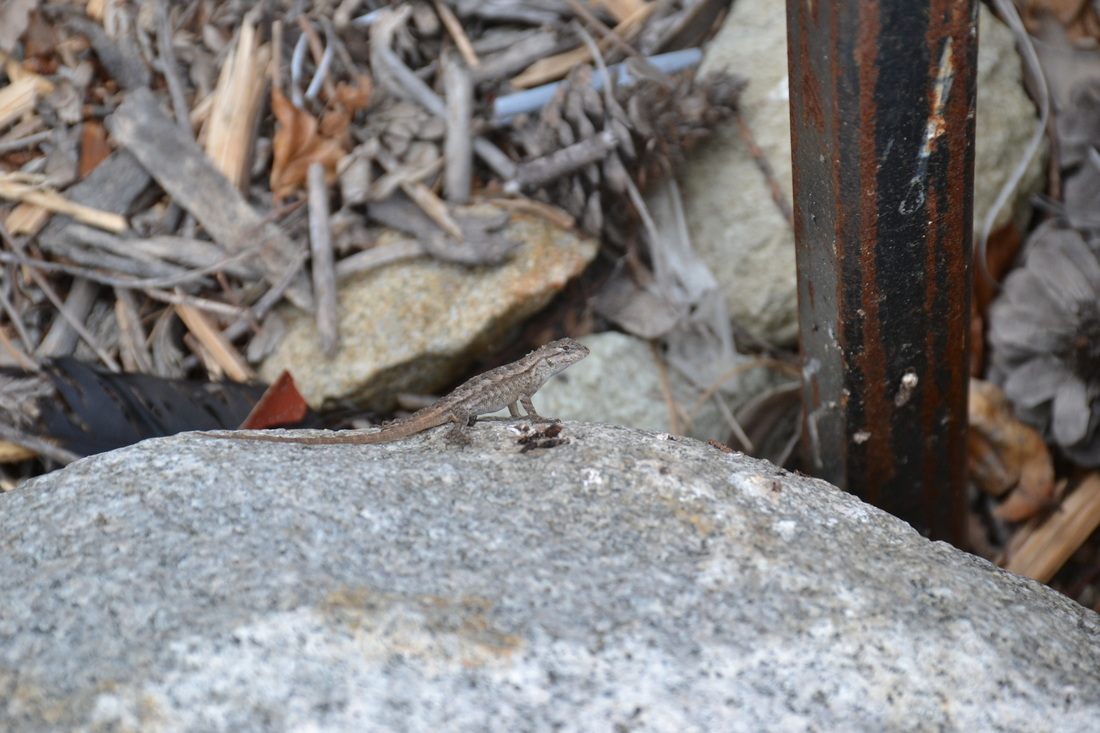 Unity, ISO 400, Aperture f/8, Shutter Speed 1/250 This is a picture of lizard on a rock.The shows the principle unity because it was random to find a lizard near a busy place as well as the twigs and rocks in the background makes the lizard look like its in his natural habitat.The image was successful because the main focus on the lizard and the background very blurry. 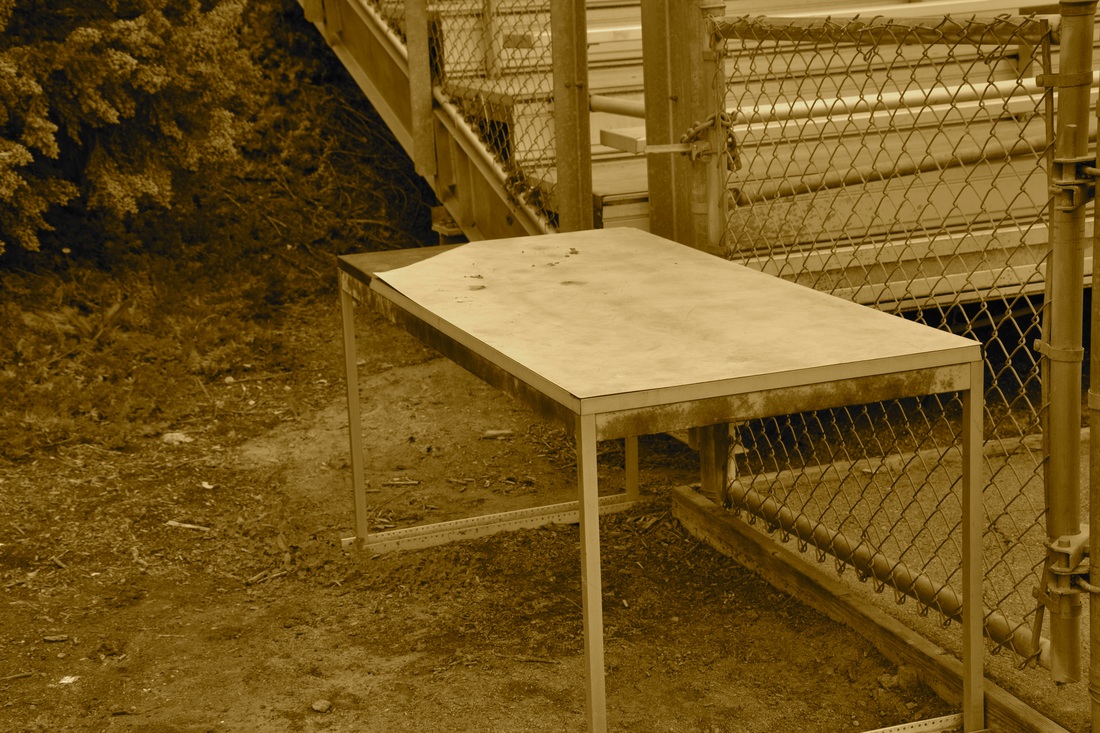 Variety, ISO 400, Aperture f/8, Shutter Speed 1/640 This is a picture of a random table next to the bleachers. The principle shown is variety because it looks like that table can be used by the people next to the table on the bleachers. I think the color of the image makes it look like a very rustic and well used table. 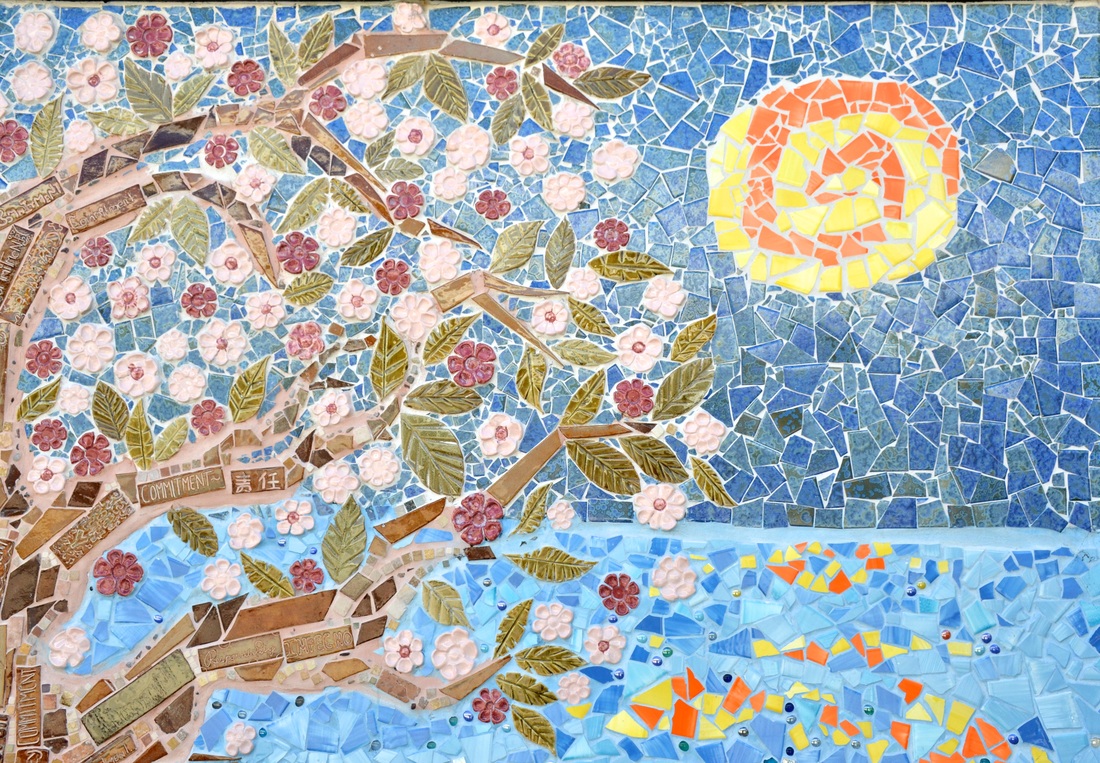 Harmony, ISO 400, Aperture f/8, Shutter Speed 1/400 This is a picture of a tile mural near the art classroom. This shows harmony because the direction of the tree branches and leafs look like they're going towards the sun. I think the tree arching towards the spiral sun made it successful. 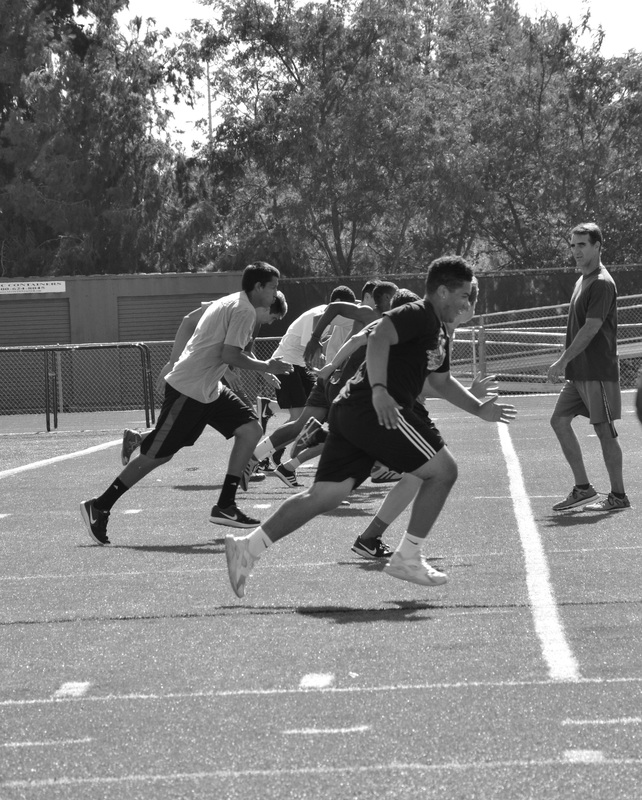 Rhythm, ISO 400, Aperture f/8, Shutter Speed 1/640 This is a picture of the basketball running together. The principle rhythm is used because they are all almost alined with one another. The black and white filter made the image successful.
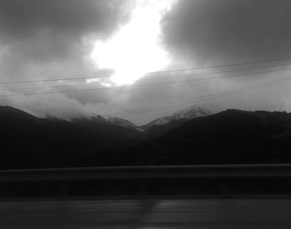
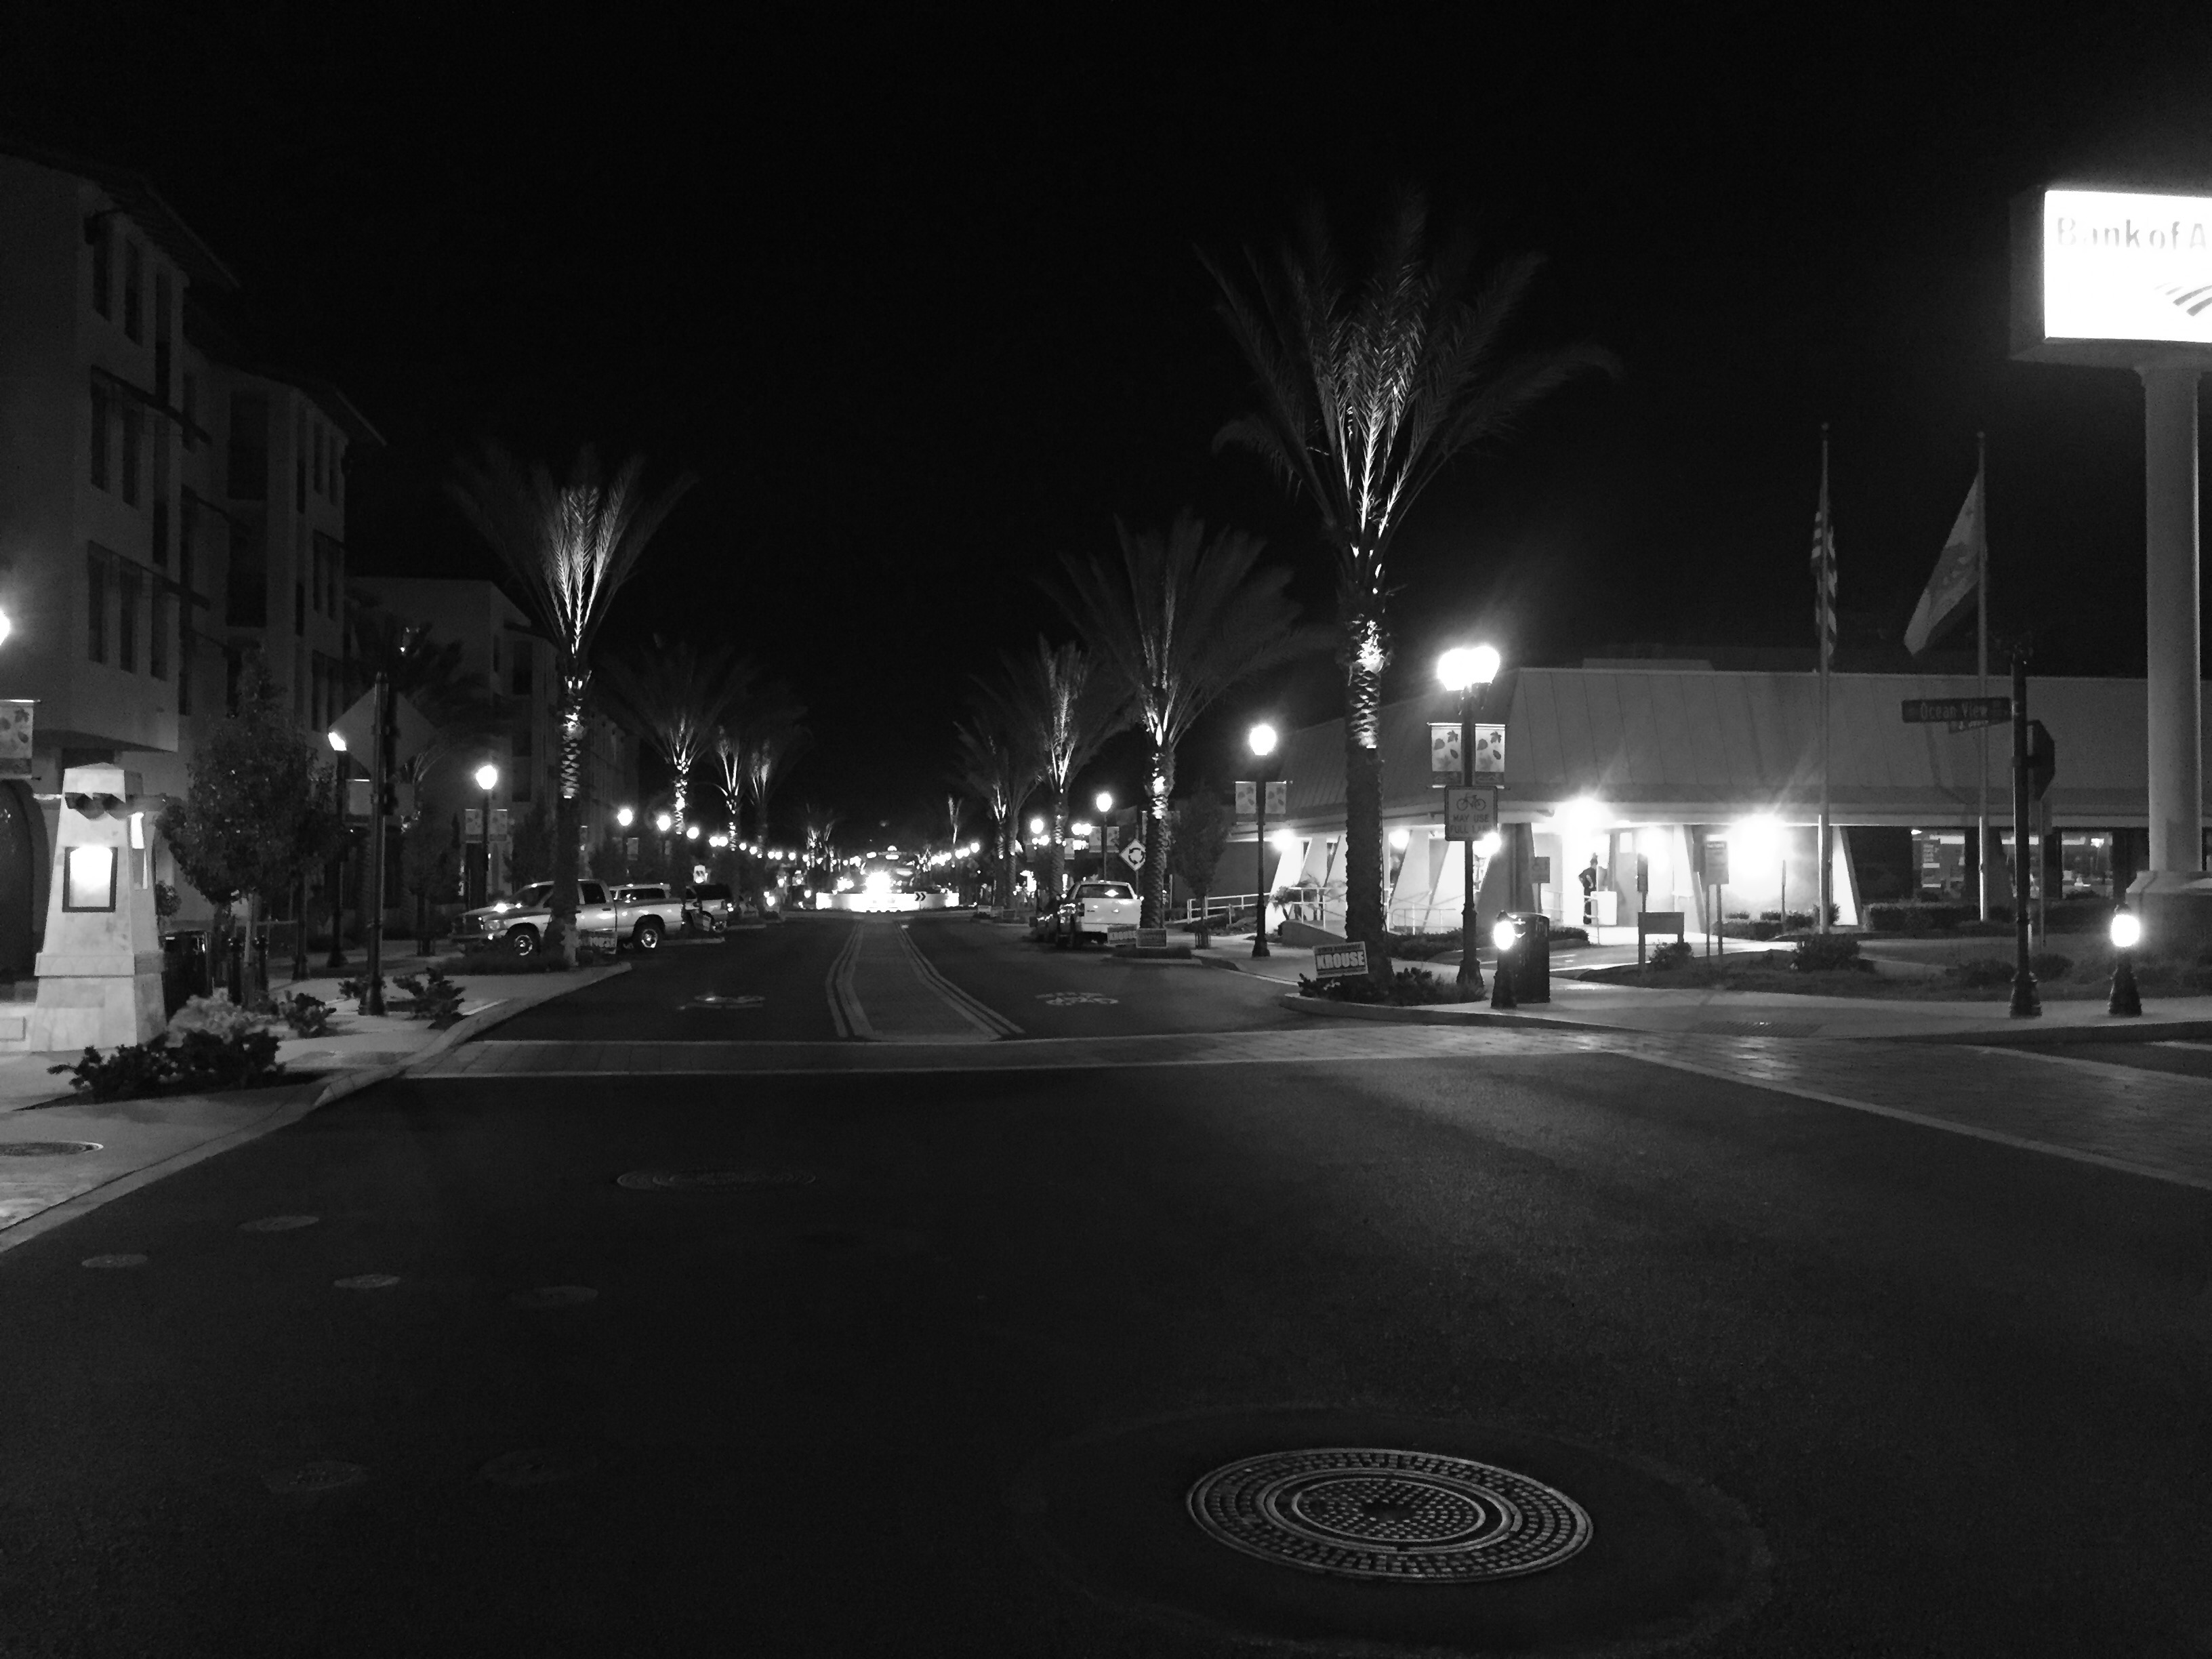
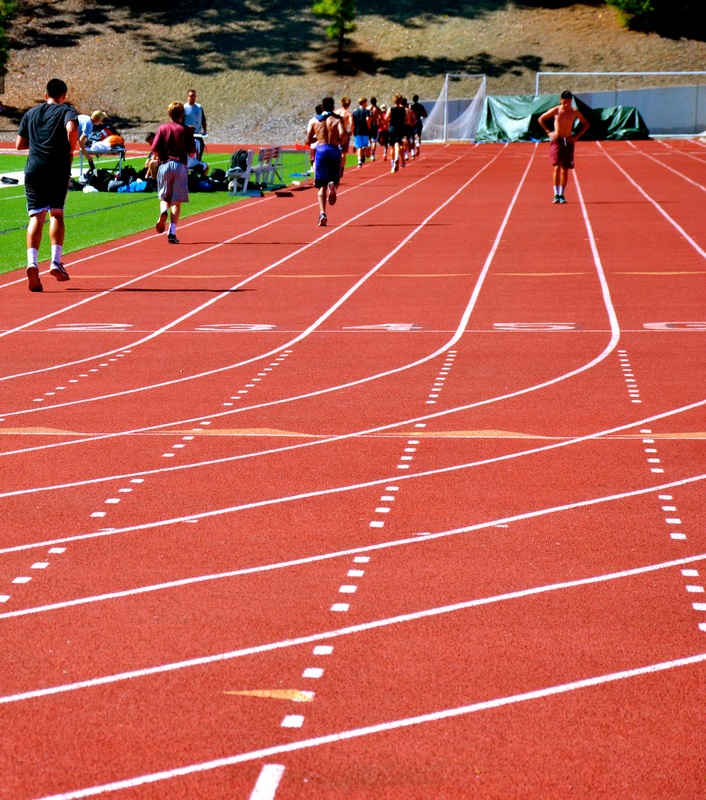 ISO 400,Aperture f/8,Shutter Speed1/1,000 The photo was at the track while the basketball team was running.The element within the image is the lines of track going towards where the person that is going the opposite direction.It was successful because the middle lines really draw your attention towards the runner going towards the camera. 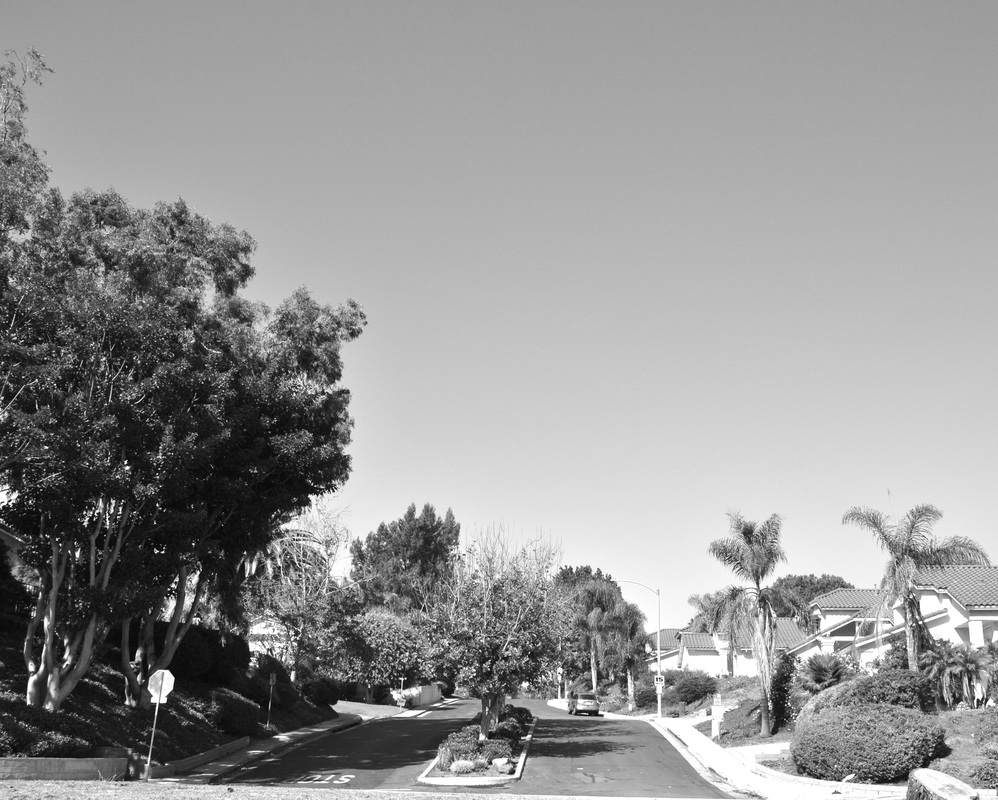 ISO 400, Aperture f/8, Shutter Speed 1/1,250 The image is the street on the side of the school.The elements are the trees and bushes in the front and the houses in the back.It was successful because the street divider helps the image really show space between the trees and the houses. 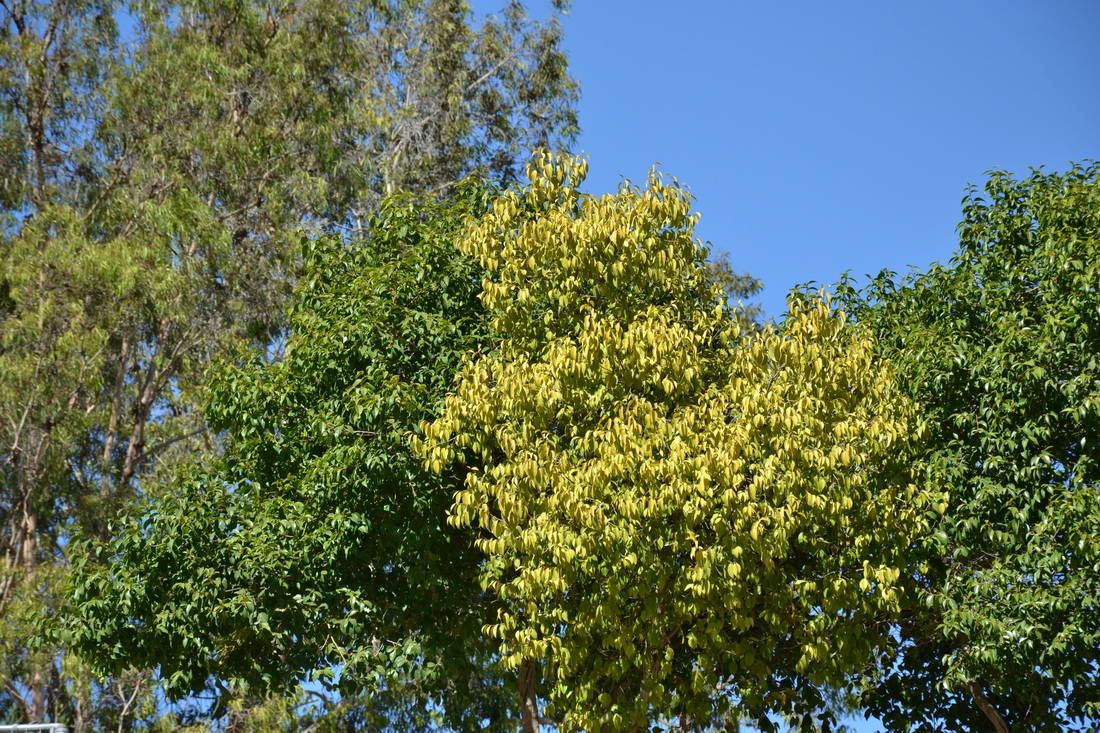 ISO 400, Aperture f/8,Shutter Speed 1/1,000 This is an image of the tree line.The middle tree with a different shade of green is the main focus of the element color.It was successful because there was multiple shades of green within the image. 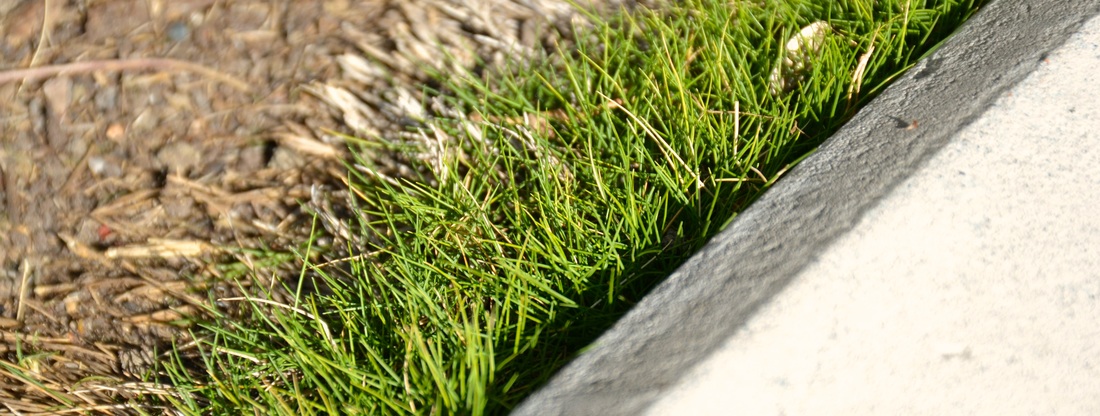 This is an image of a little patch of grass near some planters/seating area.The texture is shown by the different blades of grass.It's successful because the grass looks very thick in touch. 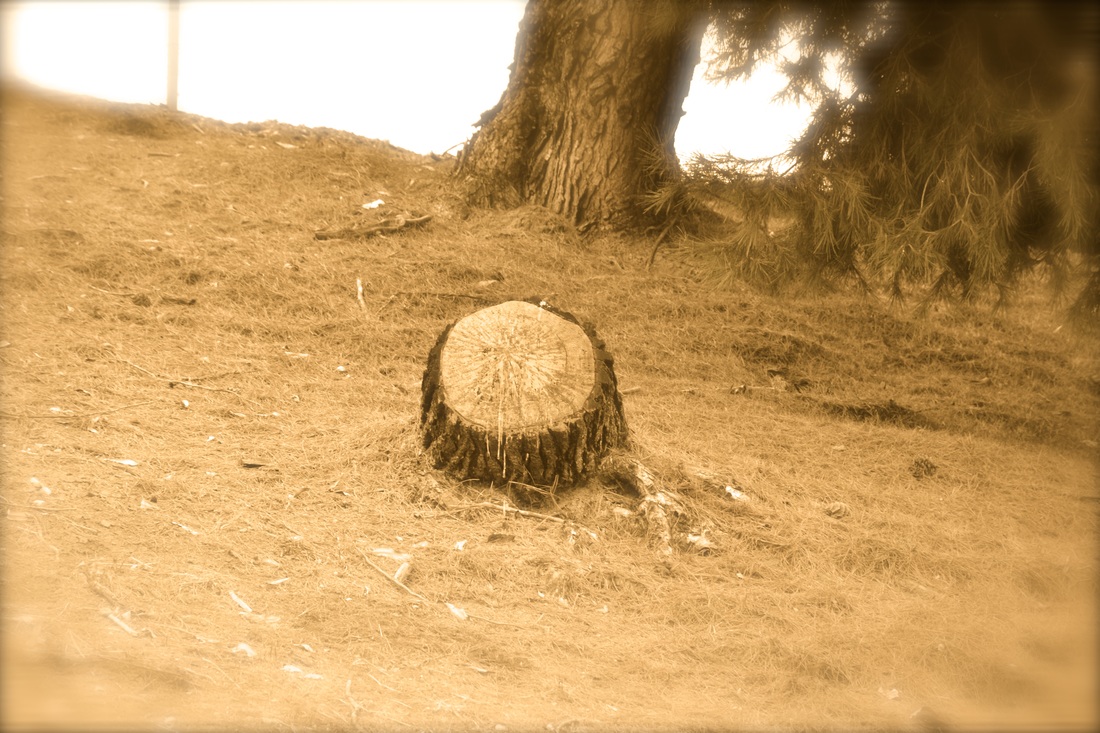 This an image of a tree stump near the football field.The form within the picture is almost a perfect circle created by the tree stump. It's success because it's mainly all natural except the fact that it was cut down.
 Shutter Speed 1/1,000, Aperture f/8, ISO 1,600  ISO 1600, Aperture f/6.7,Shutter Speed 1/1,000  ISO 1600, Aperture f/8, Shutter Speed 1/1,000  ISO 1600, Aperture f/5.6, Shutter Speed 1/1,000  ISO 1600, Aperture f/8, Shutter Speed 1,000  ISO 1600, Aperture f/6.7, Shutter Speed 1/1,000 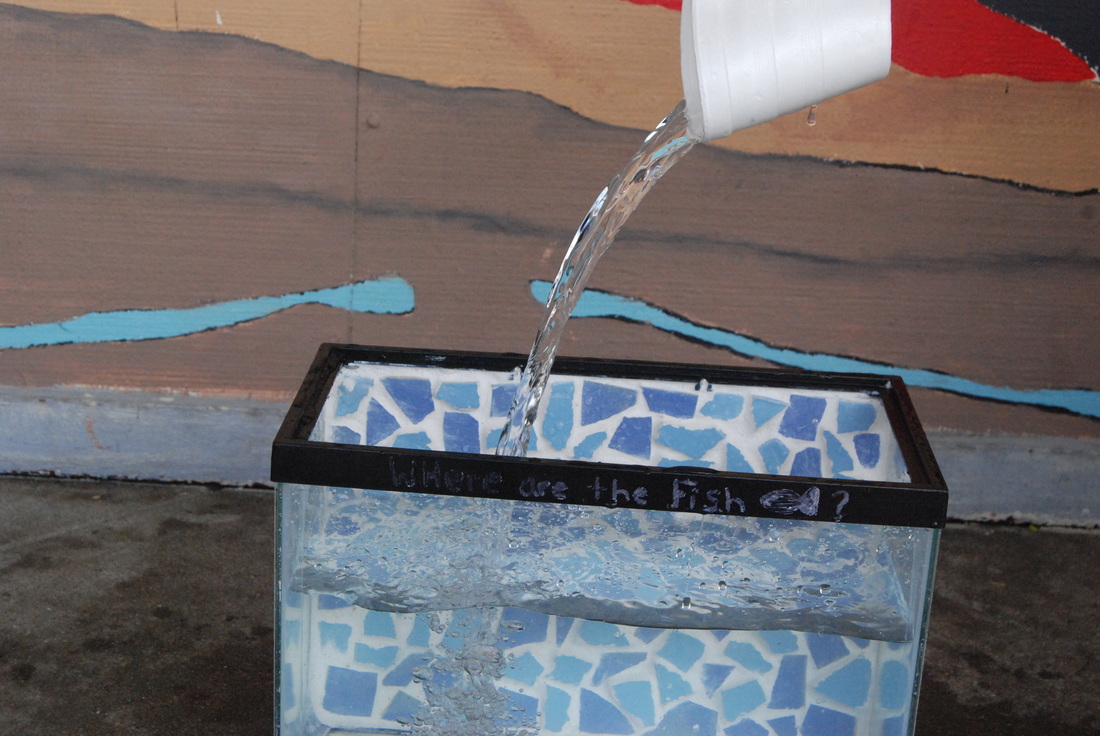 ISO 1600,Aperture f/8, Shutter Speed 1/1,000  ISO 1600, Aperture f/6.7, Shutter Speed 1/1,000 I took the pictures under the shutter speed settings and the the shutter speed was left at 1/1,000. A struggle while taking the picture was find the perfect time to take the picture to get a good shot of the action. The way I corrected this was by just spamming the shutter to take a lot of pictures. Using fast shutter speed useful for to capture movement objects one spot without any blur on the photograph. Fast shutter speed has a little bit of a delay when you press the shutter. Shutter speed is good for taking picture of people doing sports,moving car or any moving object to stay in one place without any blur left on the image.
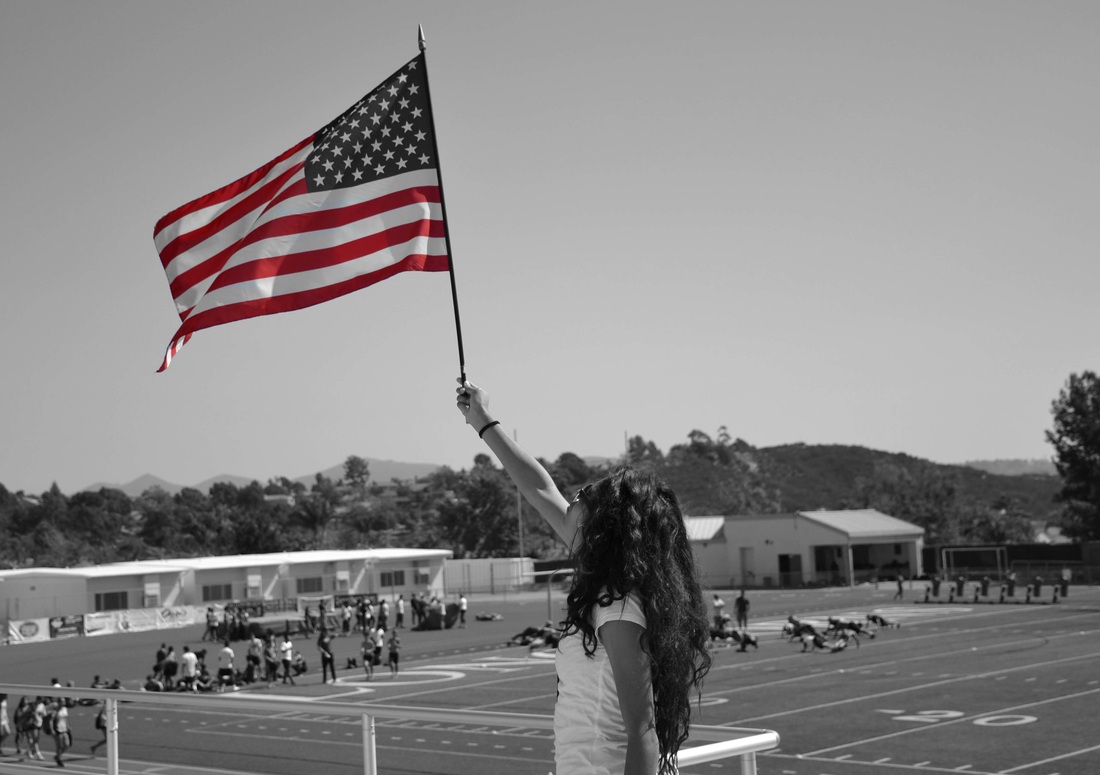 This picture is meant to show how in the U.S. you get so many opportunities no matter how many times you mess up in life. If you don't take advantage of the opportunities or it will come to a toll and leave you without any other opportunities. I also think that the American flag also means that there are so many things you can do with yourself rather than doing self-harm to yourself. The setting of the picture was at the bleachers of the football field. In order to make the red pop out in the photograph I had to make two layers and make one layer black and white and keep the other layer the same.Then I erased the black and white layer where the flag has the red stripes. To get some what perfectly red i had to really zoom into the image.
Shutter speed are both technical and aesthetic choice a photographer needs to make before releasing the shutter.
 Shutter Speed 1/3 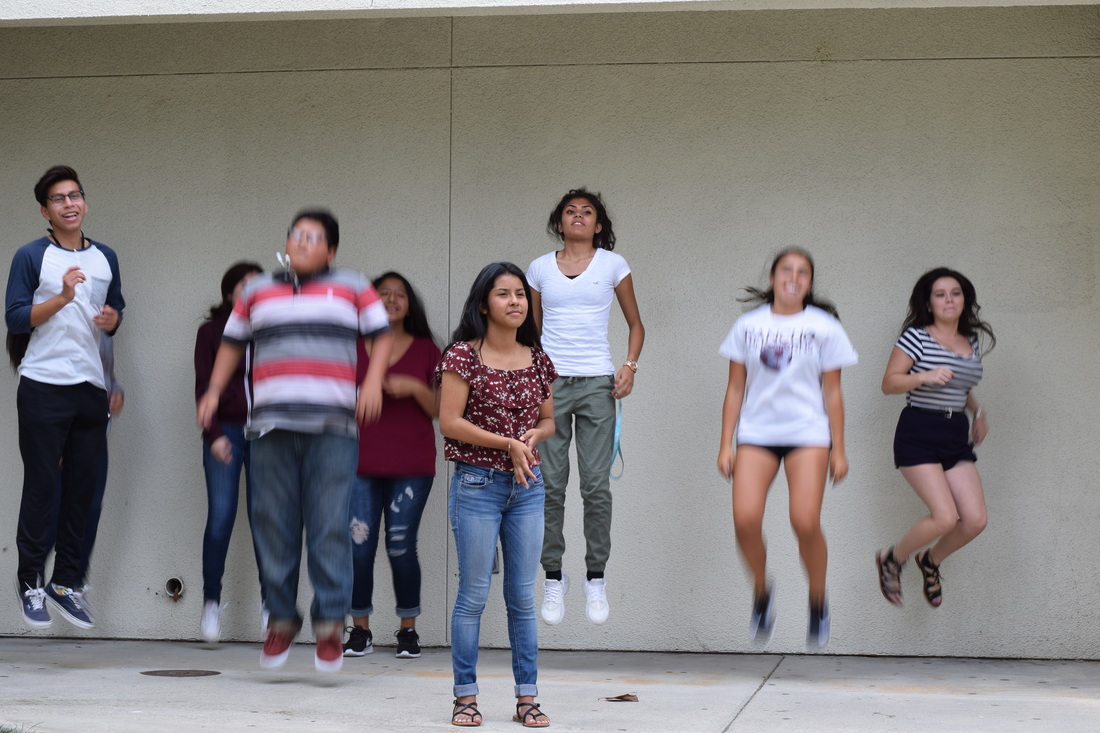 Shutter Speed 1/30 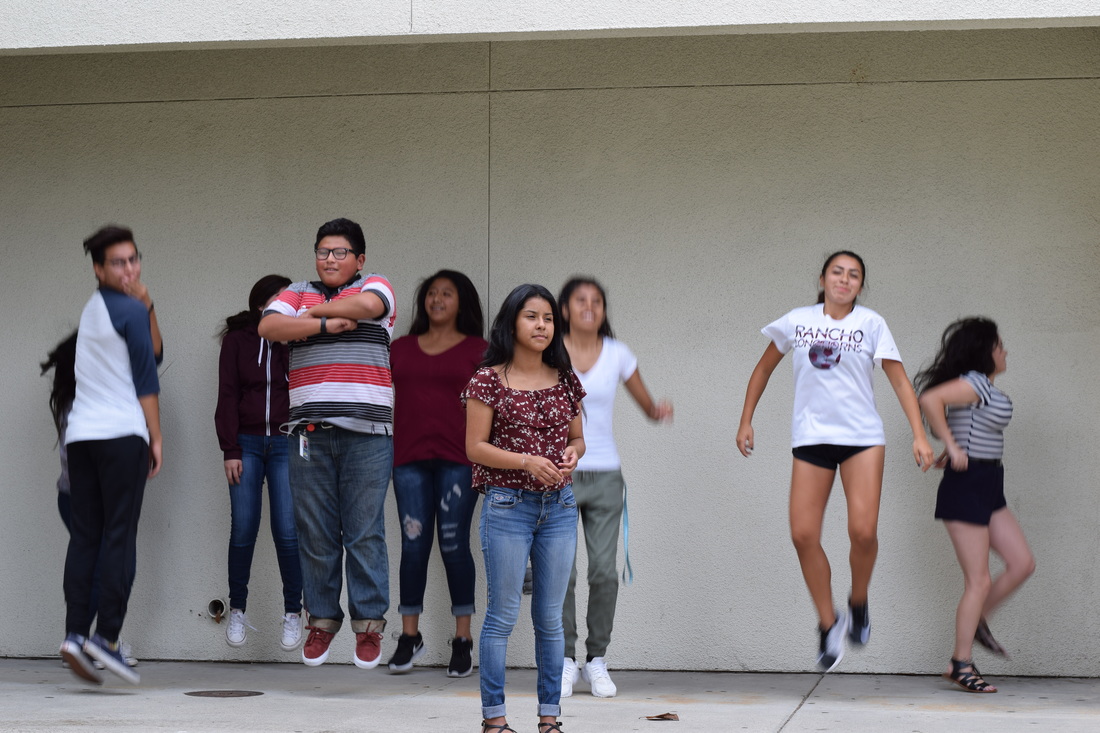 Shutter Speed 1/60 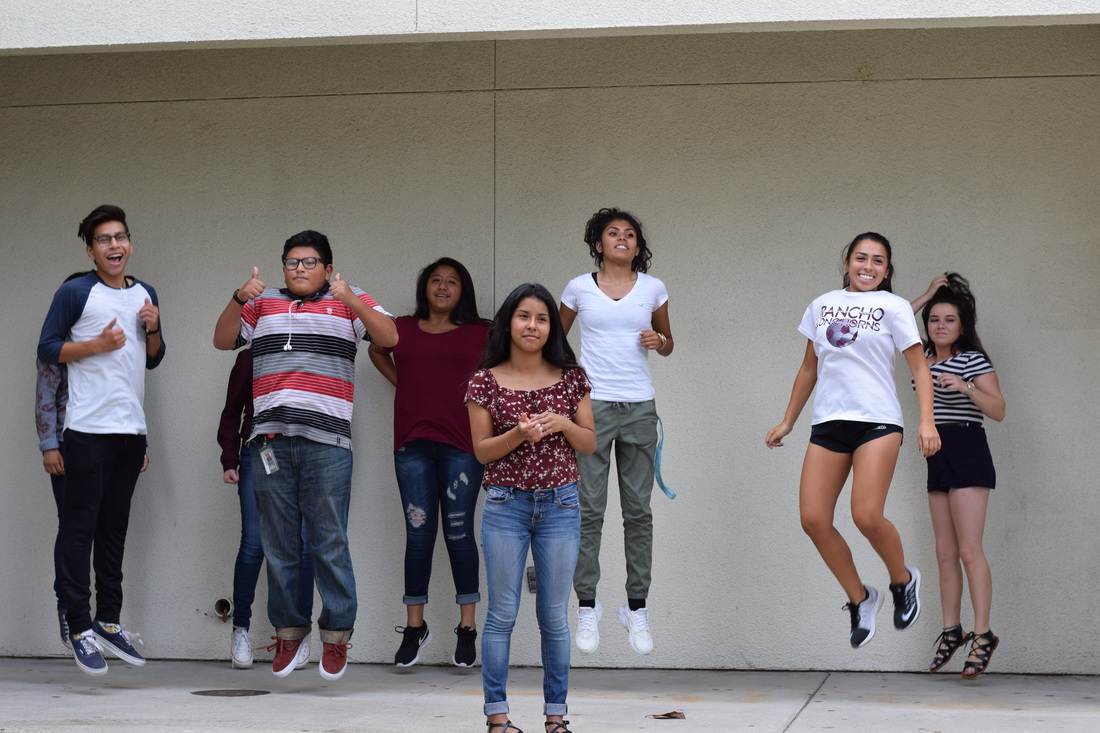 Shutter Speed 1/250 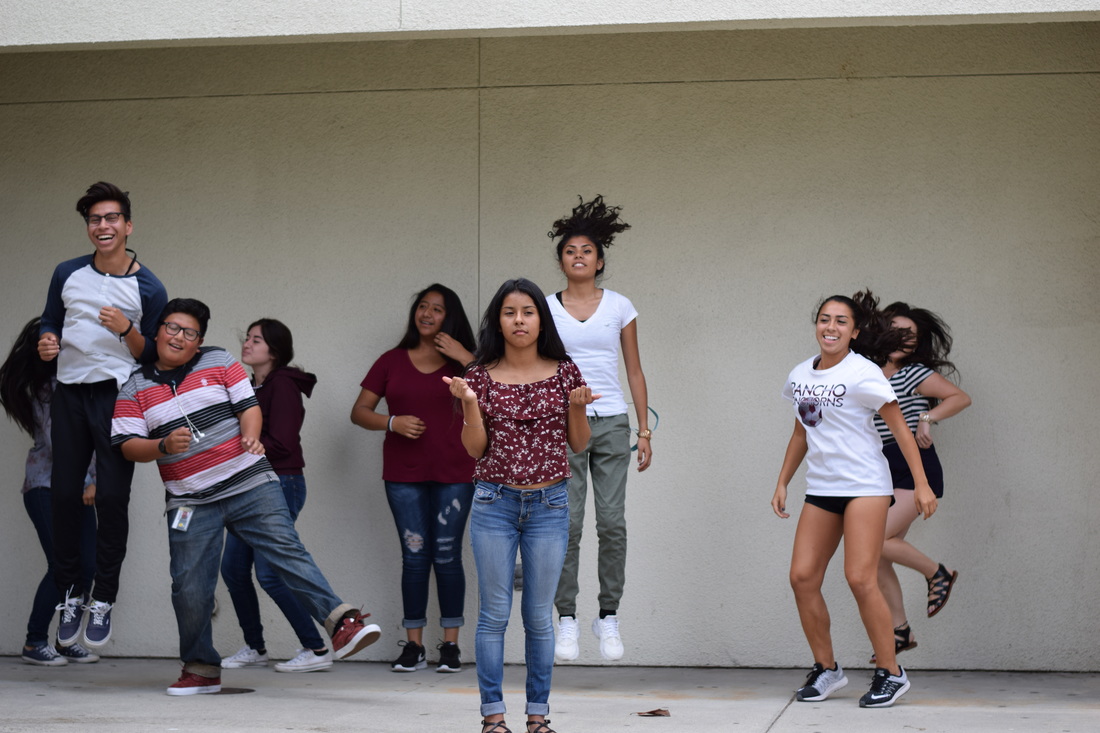 Shutter Speed 1/1000 Daguerrrotypes photographs were invented by Louis Daguerre and Nicéphore Niépce. The process to make Daguerrotype images was first they started of with a polished metal plate covered with silver iodide which is a light sensitive compound. The plate exposed to the light was then exposed with warm mercury vapor which helped develop the image on the copper plate.  John Herschel was the inventor of cyanotype.Cyanotype is a photographic printing process that produces a cyan-blue print. Engineers used the process well into the 20th century as a simple and low-cost process to produce copies of drawings, referred to as blueprints. The process uses two chemicals: ammonium iron(III) citrate and potassium ferricyanide.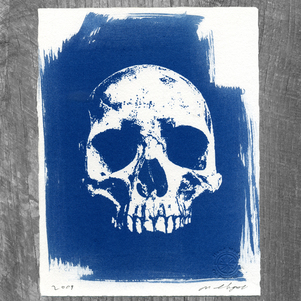 Cyanotype Formula:Solution A: @5 grams of Ferric ammonium citrate (green) added to 100 ml water.
Solution B: 10 grams of Potassium ferricyanide added to 100 ml water. In a darkened room (no UV) mix equal parts of solution A and B. The solution is now light sensitive and should be used immediately and stored in complete darkness. In the same darkened room coat a piece of watercolor paper(90 pounds works well) using a small paint brush and dry the paper using a hair dryer. The paper be stored in a light-tight box for later use. Using the contact printing method expose the paper to full sun for 15-20 minutes. The yellow emulsion should turn to a steel bus gray color. Exposure times vary greatly depending upon the strength of the UV source and the density of the negative. Artificial light sources rich un UV may be used with testing. The UV light reduces the iron(III) to iron(II). This is followed by a complex reaction of the iron(II) complex with ferricyanide. The result is an insoluble, blue dye(ferric ferrocyanide) known as Prussian blue. |
AuthorI like cars and video games. Archives |
 RSS Feed
